
Hey friends!
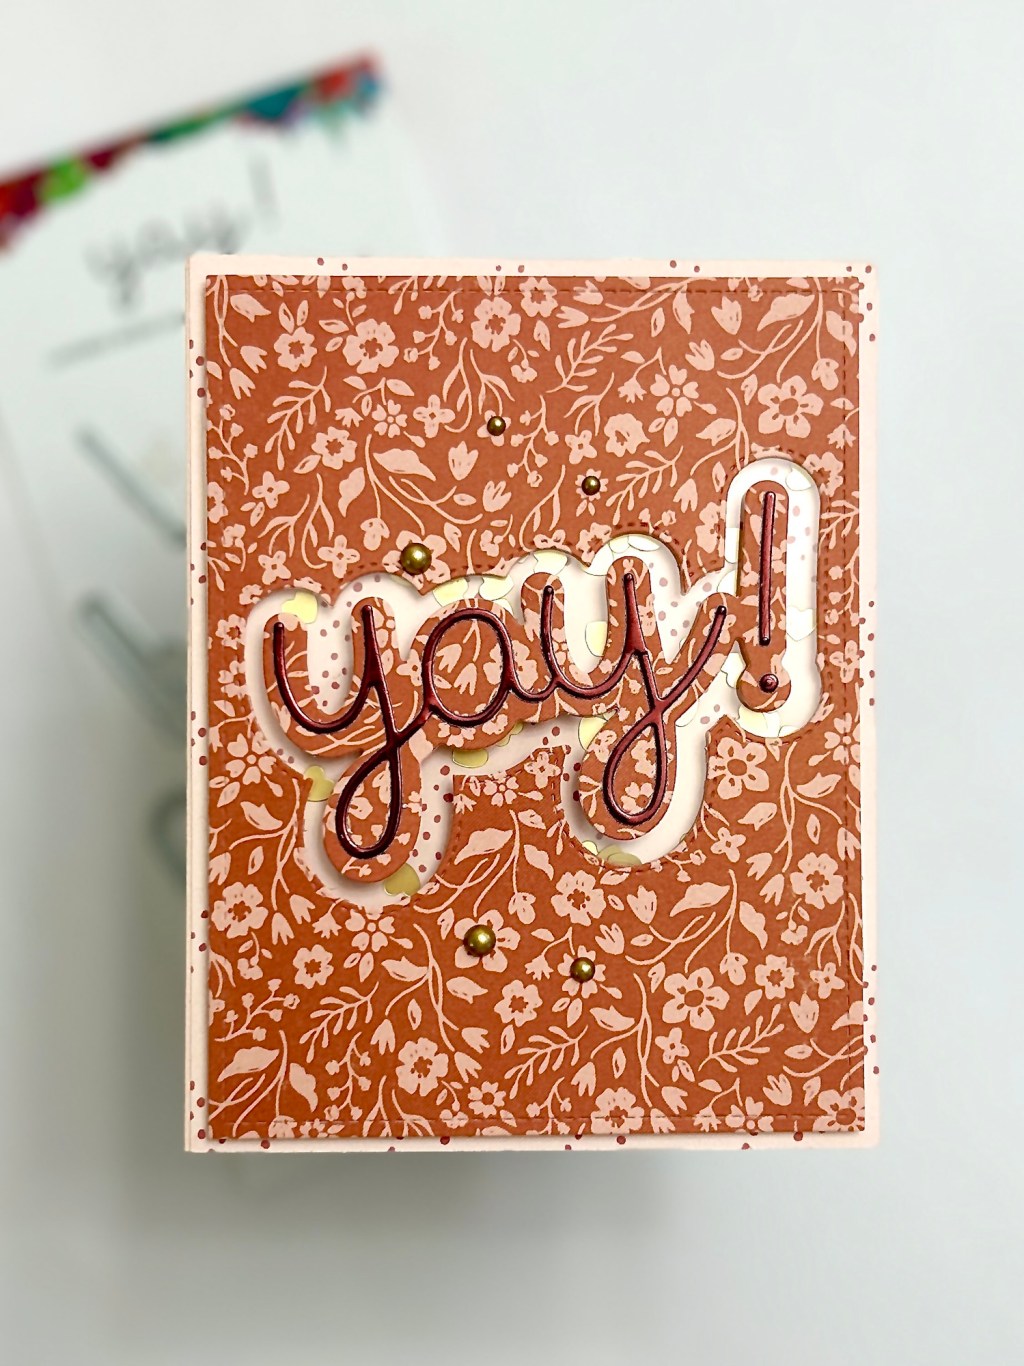
Today I’m sharing a floral shaker card I made recently using the Yay Layered Word dies from Emily Moore Designs.
Supplies needed:
-Two pieces of patterned card stock – one floral and
another a pattern of your choosing
-Mirrored card stock
-Shaker card pieces
-Clear Acetate
-Metallic pearl adhesive dots
-A2 size card base
-Paper trimmer
-Die cutter
-Adhesive of your choosing
-Foam Tape
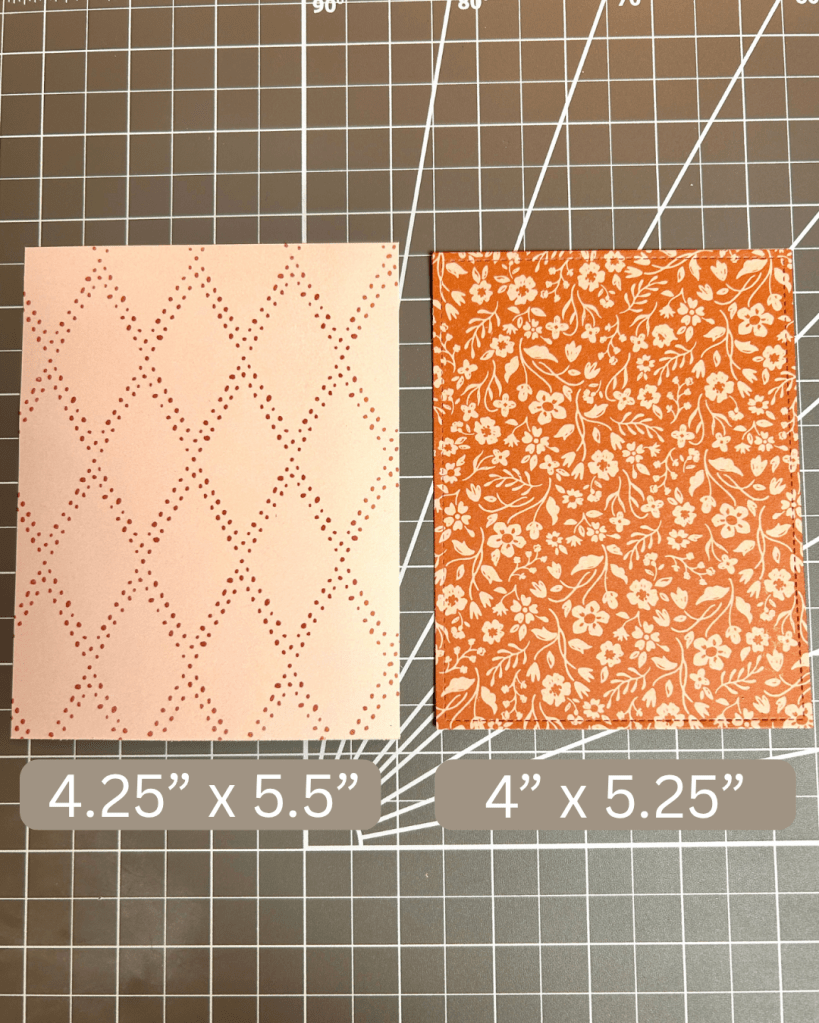
Step 1
Cut one of your pieces of patterned paper to 4.25” x 5.5”. This piece is going to fit on the front of your A2 size card base in a later step. Then cut your other patterned paper to 4” x 5.25”. If you want to add some texture to your floral card panel, you can use a stitched border die. I used the Outside In Stitched Rectangle dies from Lawn Fawn to add stitching to the edges.
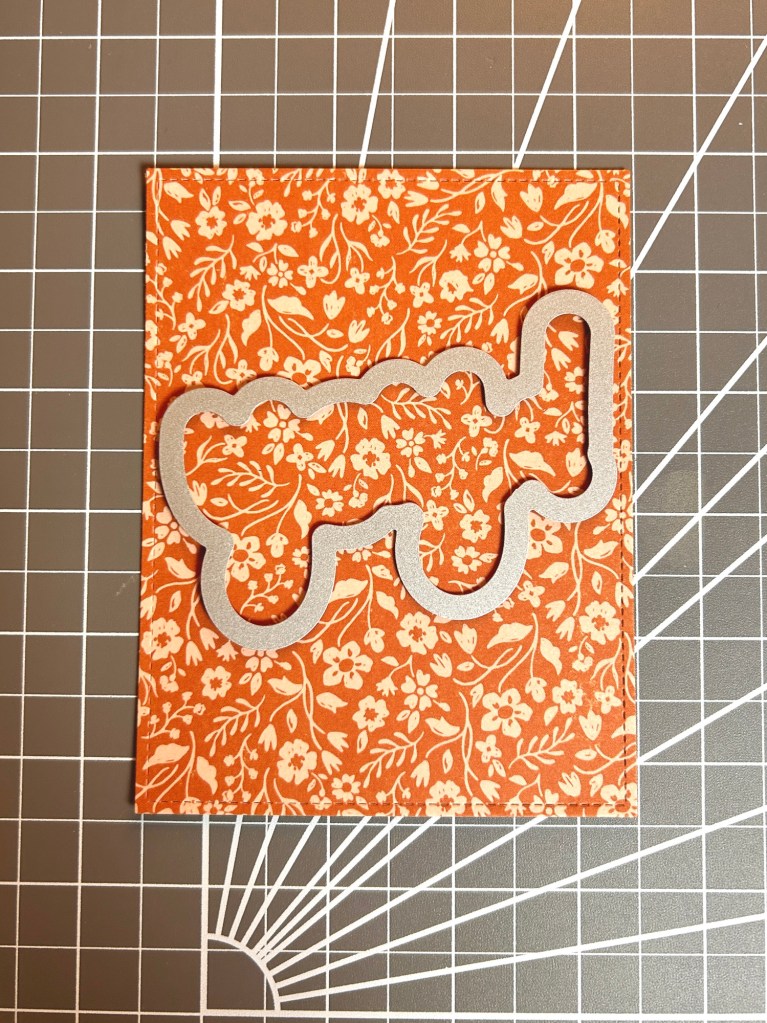
Step 2
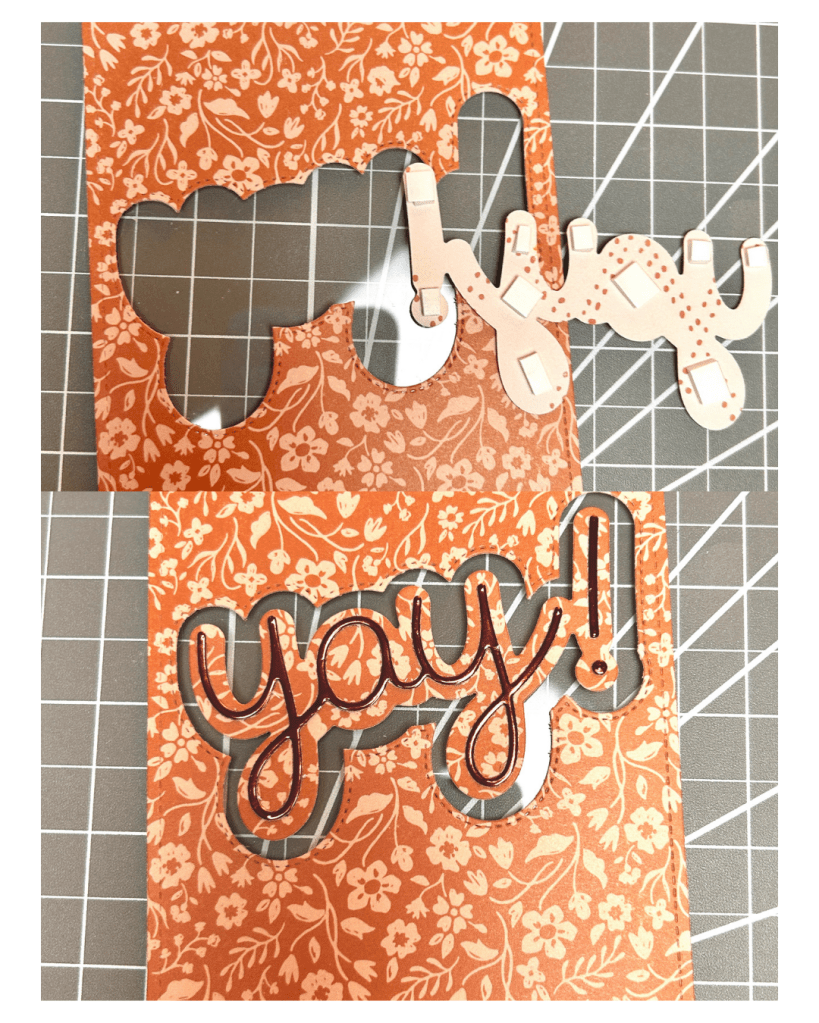
Using the largest Yay die with stitching, place it in the center of your floral card panel, position it slightly diagonal. Then tape down the die to secure it, and run it through your die cutter.
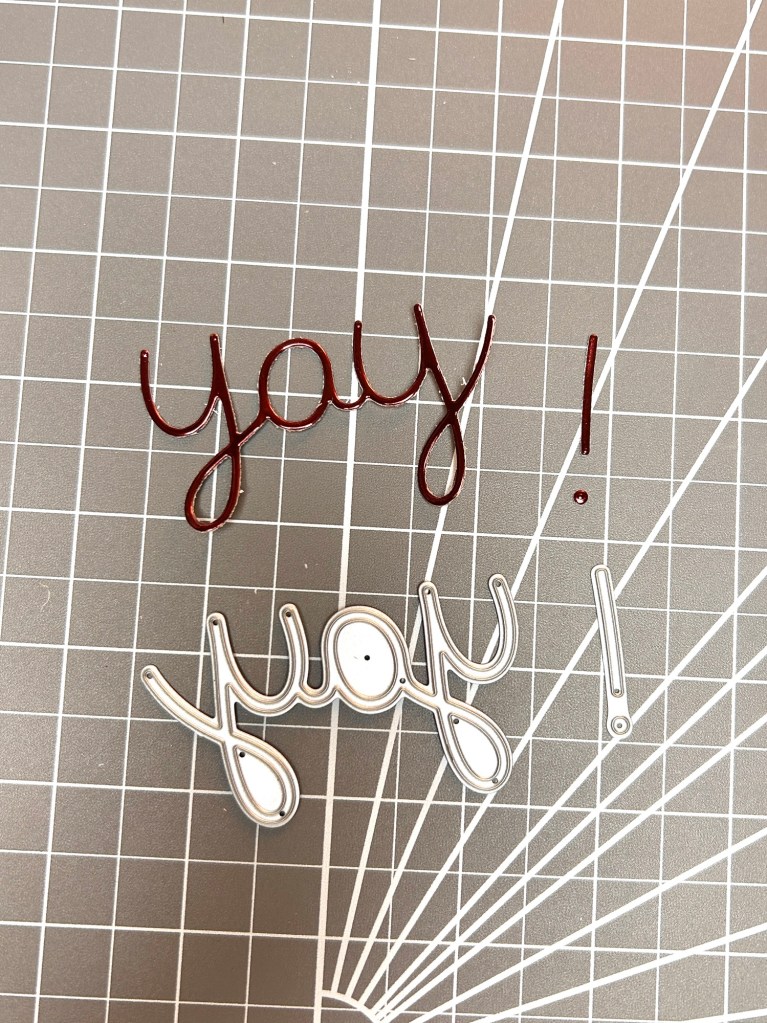
Step 3
Using a leftover piece of your floral paper, use the next smallest yay die, tape it to your floral scrap to secure it, then run it through your die cutter. I used the yay scrap from the center of the floral panel.
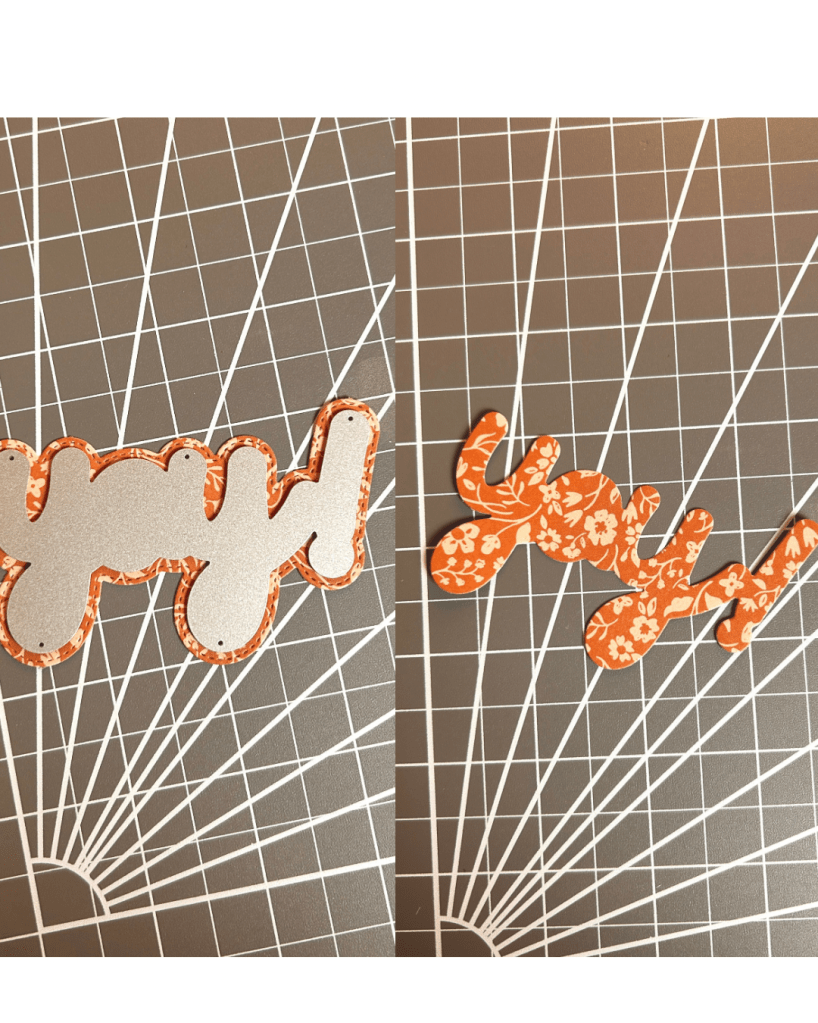
Step 4
Using the smallest yay die with the exclamation point, place it on a piece of your mirrored card stock and run it through your die cutter.
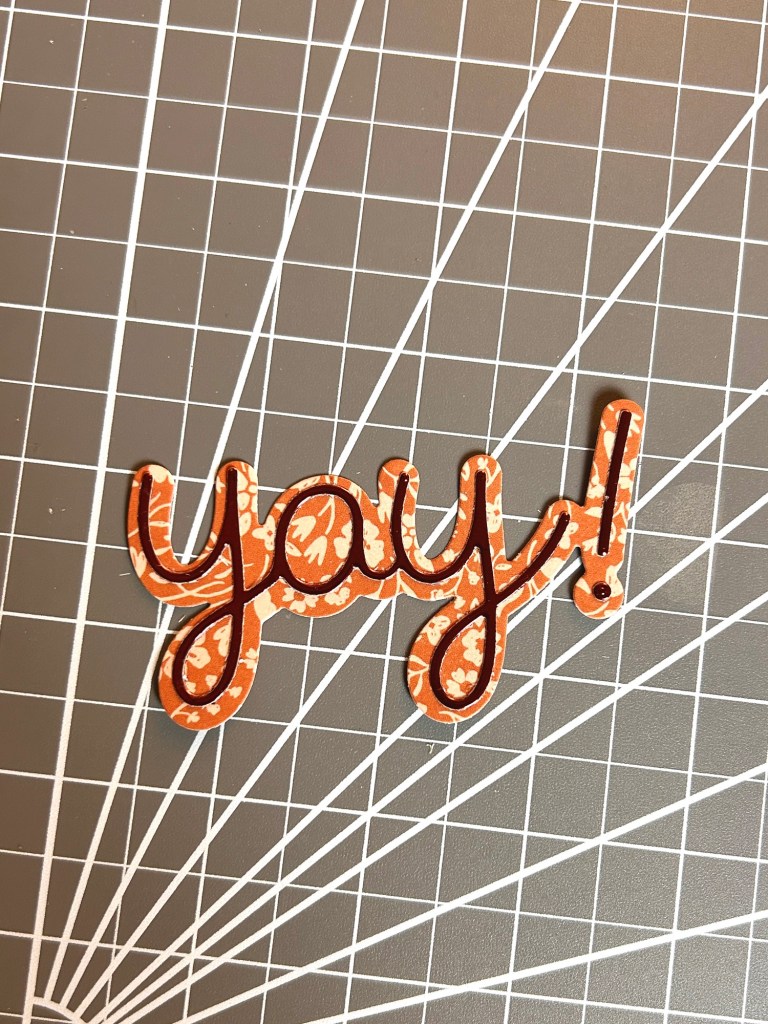
Step 5
Adhere your smallest yay with the exclamation point to the floral yay piece. Set aside.
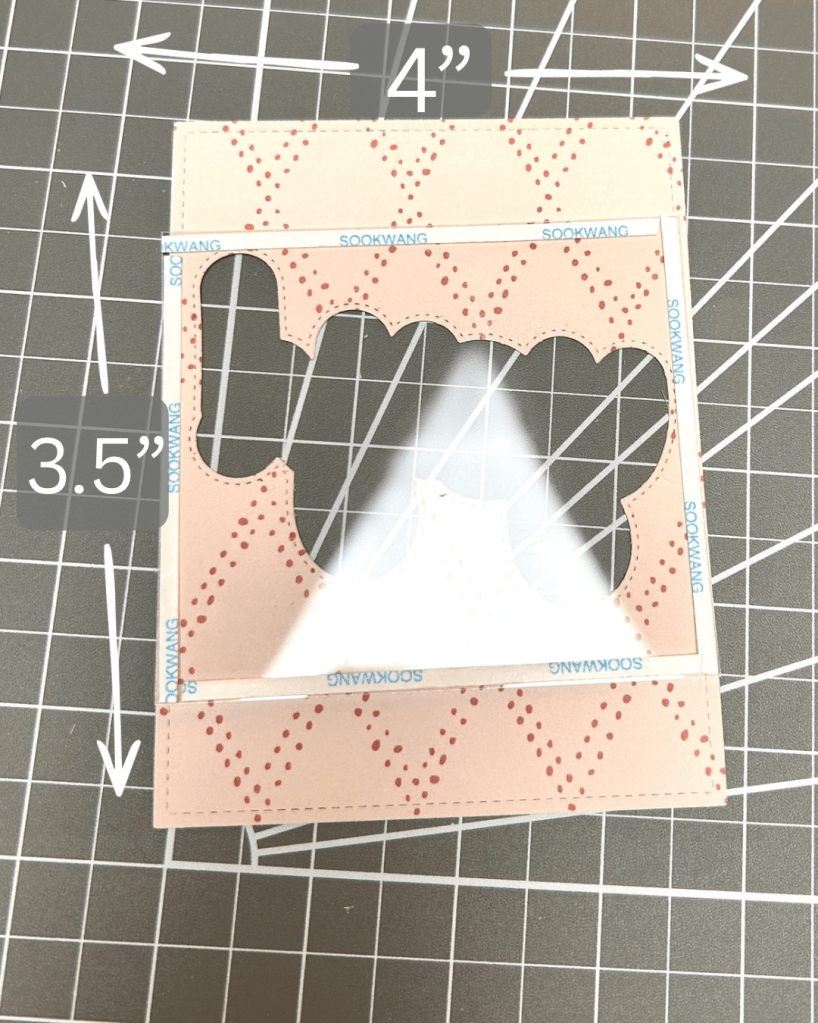
Step 6
Cut out a piece of acetate measuring 3.5″ x 4″. Adhere this piece to the back of your floral card panel. The 3.5″ side should cover the top and bottom of the large yay-shaped hole on your card panel, and the 4″ side should fit the width of it.
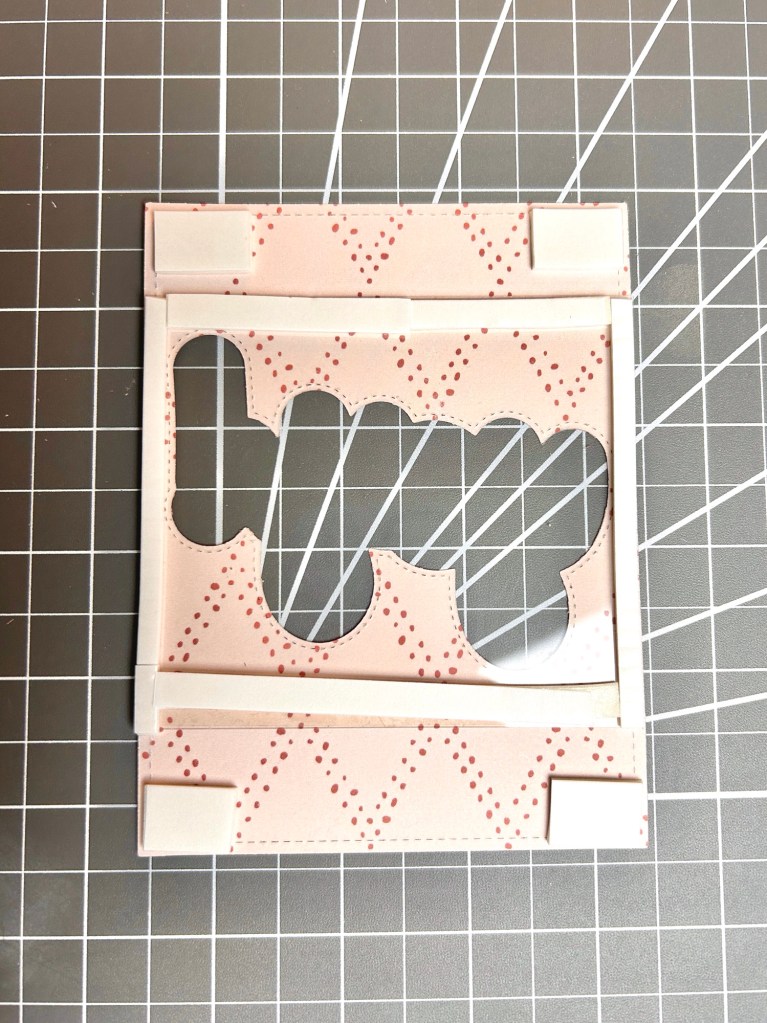
Step 7
Once your acetate piece is adhered to the back of your floral card panel, take your foam tape and place it on the acetate to fit the shape of your yay. When you turn the floral card panel to face you, the tape should not be visible. The tape will keep your shaker card pieces from falling out. Place more foam tape to your card panel to adhere to your pattern card panel in a later step. Do not remove the backing from the foam tape yet.
Step 8
Take your yay pieces that you put together in step 5, and adhere it to the acetate on the front of your floral panel with foam tape.
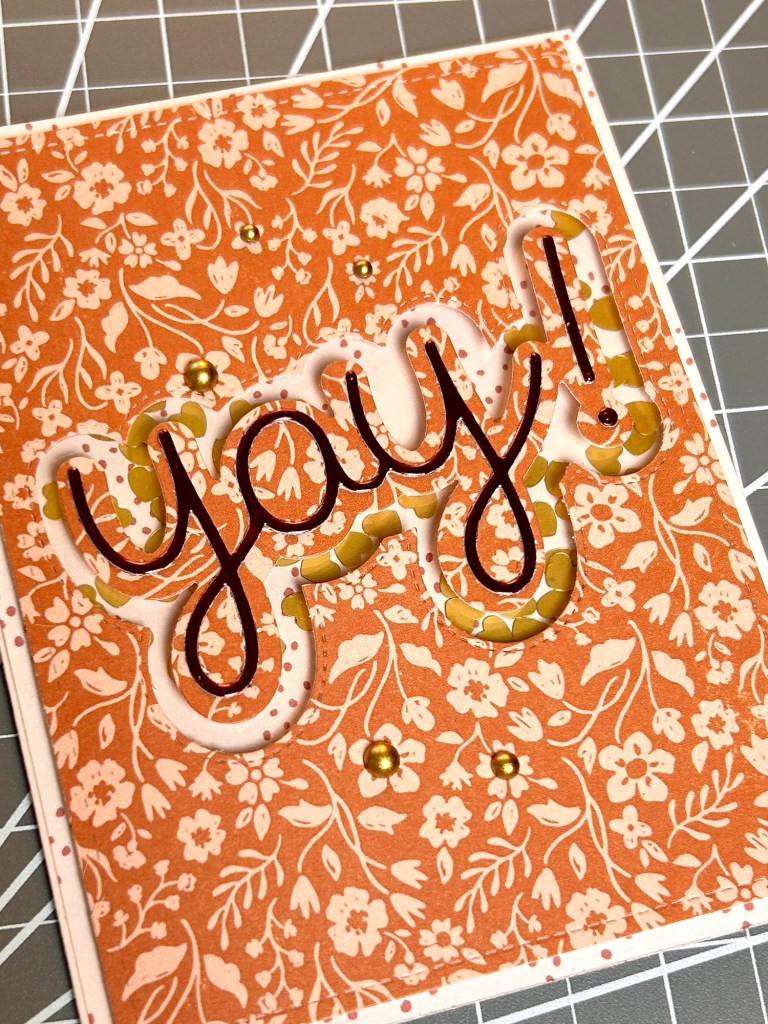
Step 9
Pour out a small pile of shaker card pieces onto your patterned card panel, make sure it’s in a small pile. I used some gold metallic hearts from Hai Supply. Remove the backing from the foam tape on your floral card panel, and carefully place it over the patterned card panel.

Step 10
Take the two combined panel pieces and remove the backing from the foam tape to adhere them to your card base. Embellish with enamel dots or metallic pearls. I used the Metallic Mix Pearls from Honey Bee Stamps.
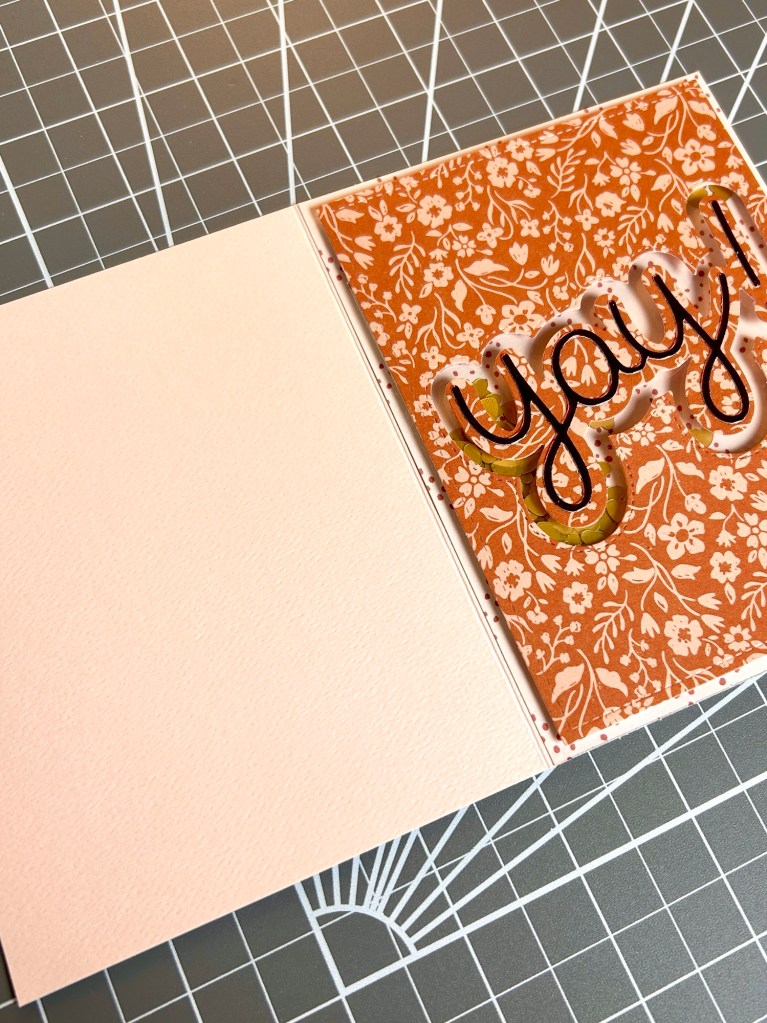
This card is cute and simple to make, and the shaker pieces and busy floral pattern really makes it a fun card to look at. I hope you enjoy making this card.
For more step-by-step tutorials, subscribe to my email list for my newest projects!
Happy crafting,
Nicole

Leave a comment